

All-Purpose Sourdough Pizza Dough
Trying to adapt my favorite pizza recipes from commercial yeast to sourdough all while trying to fit my work schedule has been a challenge at times. I’ve gone down some strange roads. Recently I was on this kick where I was doing a relatively short bulk fermentation and a long proof, and making the schedule happen during the work week meant I was setting my alarm for 2am to put the dough balls in the fridge. (Why.)
I’ve been converting more of my breads and pastries to sourdough, and as I keep trying new things I’ve found the confidence to be a more flexible baker.
So the other day when I was hesitant about planning a pizza night because of the hassle, I thought: I’ve got to find another way. It was time for the pizza schedule to work for ME. After all, time and temperature are some main ingredients. I tweaked them, and I ended up with a great pizza dough with a pretty straightforward and practical schedule.

What’s even better? It’s an all-purpose dough for your home oven! I used half of the dough for a thick-and-crunchy crust pan pizza one night, and half for some Neapolitan-style pies that I baked on my pizza steel the next day.


I also make pizza in my little outdoor woodfired oven! (I like pizza. It’s bread for dinner.) This dough won’t work as well for that--I find that I need to reduce the dough hydration quite a bit (like 10%) for a good result in such a HOT oven. I’ll share about those adventures soon.
In the meantime, try this dough for all styles of pizza in your home oven!!


Thick, tender crumb and a crunchy, fried crust stand up to generous toppings on the pan pie. One trick is to par-bake the dough before adding toppings.


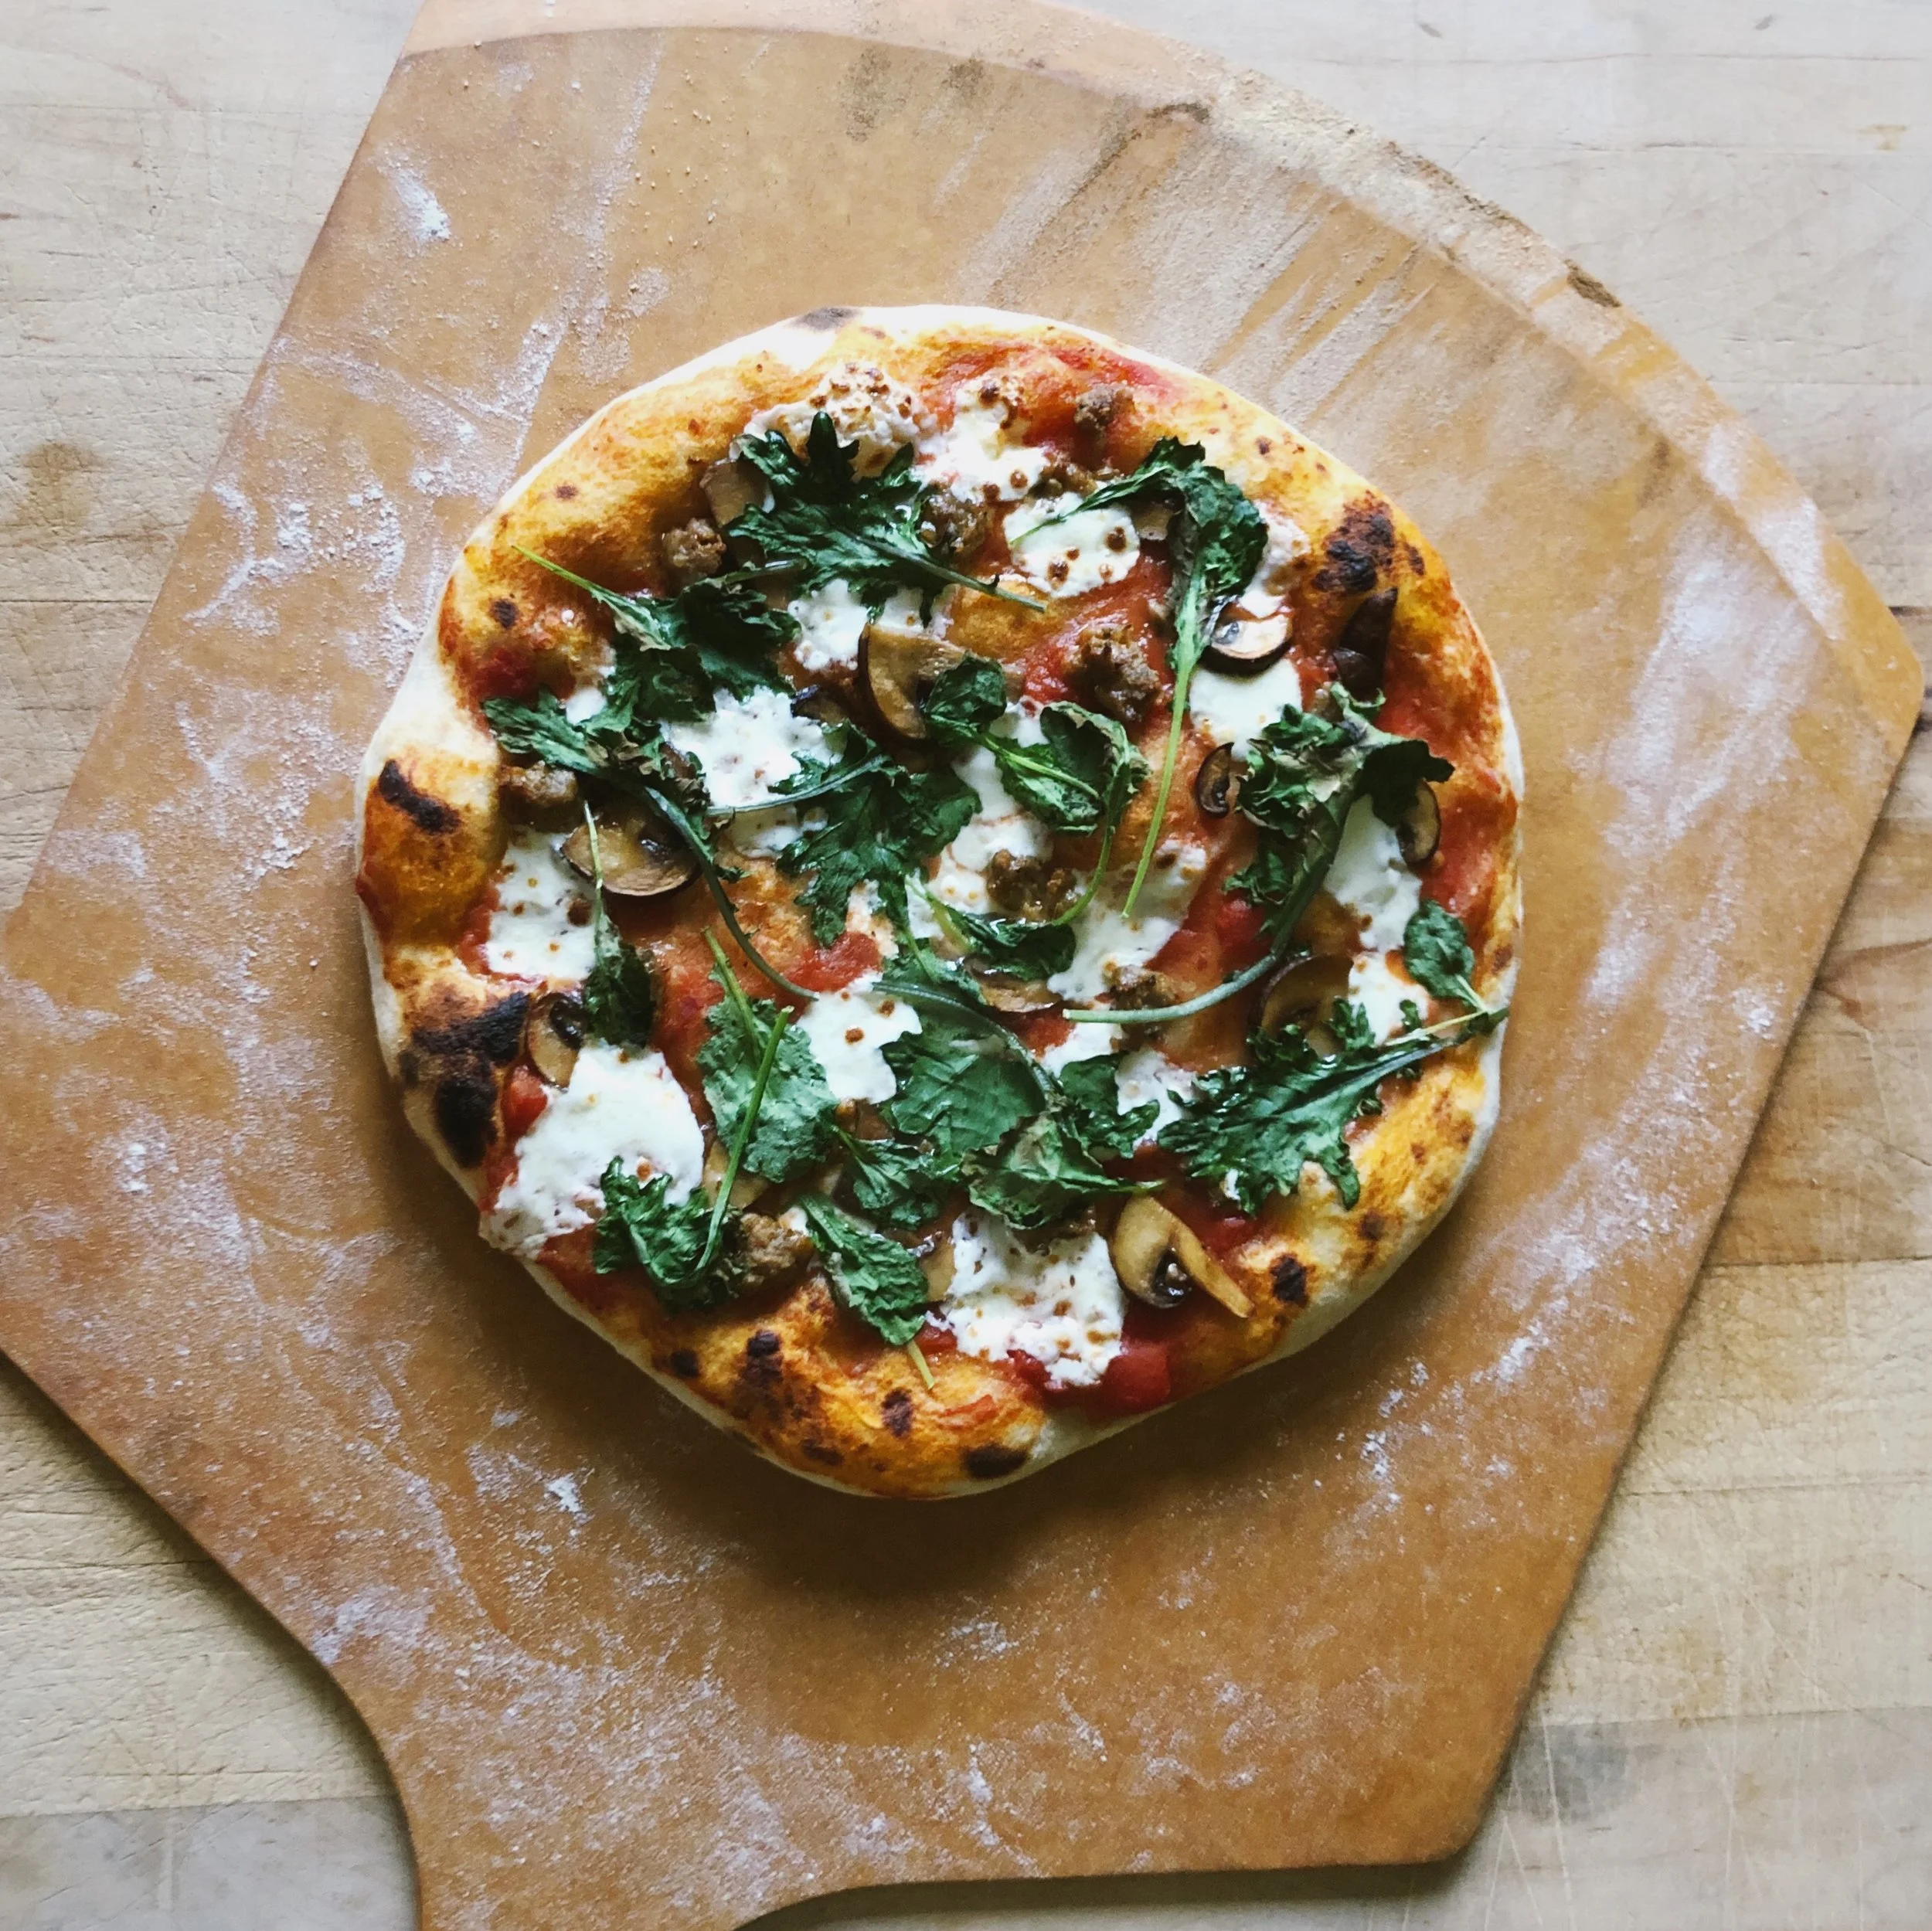
Spotty with a proofy rim and a bit of a flop are features of the Neapolitan style pizza baked on the pizza steel.
All Purpose Sourdough Pizza Dough
Yields 5 12-inch pizzas OR 2 pan pizzas*
This is an original recipe, but I’ve learned a lot about pizza from Ken Forkish’s books--
Flour, Water, Salt, Yeast and The Elements of Pizza.
Ingredients:
200g bubbly, active starter- 100% hydration
900g All-purpose flour**
600g water
20g salt
*You can scale this recipe to suit your needs. I often cut it in half and make one pan pizza or two larger pies on the steel. For the pizzas shown, I broke off two 340g hunks of dough for the steel pizzas and shaped the rest for a large pan pie.
If you don’t have a pizza stone, steel, or heavy duty pan, use cast iron skillets! Lightly oil a 12-inch cast iron skillet, shape the dough as described in step 11 and place it in the skillet. Bake for about 20 minutes in a 500 degree oven. (No need for the long oven pre-heat with this method).
**Feel free to play with the mix. My starter has mostly whole wheat flour, so I didn’t incorporate any into the mix. If you up the whole grain percentage, supplement with more water and consider adding bread flour into the mix for strength.
Method:
Autolyse: The night before you plan to make pizza, measure out 600g warm water into a very large bowl or tub. Add the 900g of flour and mix with your hands until all of the flour is hydrated. Let rest for at least 20 minutes, or up to an hour or two.
Mix and Knead: Add the starter and salt to the dough and mix by hand, pinching the dough between your thumb and forefinger a several times to distribute the starter and salt. Fold the dough over itself several times so that the starter and salt are well incorporated. The dough will still be a bit shaggy at this point, but it will begin to smooth out and develop as knead. Next, build more strength by slapping and folding the dough over itself on the counter. Do this until the dough is smooth and elastic, about 3 minutes. Return the dough to the bowl, cover, and let it rest for about a half hour.
Fold: Using a wet hand, stretch and fold the dough over itself a few times. It should be smoother and stronger now. (If it’s not quite there, give it a second fold after another 30 minute rest.) Cover with a lid or plastic wrap.
Bulk Fermentation: Let the dough rest, covered, at room temperature overnight. The dough will double in bulk, so make sure your container can handle it.
Pre-shape: In the morning, dump the dough out onto a floured surface.
If shaping into balls, divide the dough into five, 340g portions. Lightly flour the top, then flip over and fold the ends into the center. Flip the ball back over and turn while cupping your hands around the dough ball to create a bit of surface tension. Place on a floured sheet pan or on floured dinner plates. Flour the tops of the dough (to prevent sticking), cover with plastic wrap, and refrigerate.
If shaping for pan pizzas, divide the dough in half and fold it over itself into a rectangular shape (folding in thirds, like a letter). Place in a floured cake pan or in loaf pans lined with plastic and sprayed with oil. (I use this pan- I like that it has a tall lid and I can stack things on top of it in the fridge.) Flour the top of the dough, cover, and refrigerate.
Cold Proof: Rest in the fridge until the evening, or at least four hours. The dough will also hold until the following day/night if needed.
Preheat: Place a pizza steel or stone on the highest rack in your oven and preheat at the highest temp your oven will go for about an hour. Meanwhile, get your toppings mis en place.
To shape the pan pie: Pull it from the fridge about 30 minutes before baking. Oil the bottom of a heavy duty half-sheet pan, dump the dough onto it and turn over to coat it in oil. Stretch the dough out evenly to cover the pan and let it rest as the oven pre-heats. (If it resists and springs back, let it rest about 10 minutes and then try again.)
Par-bake (pan pies only): Top the pan pie with about half of your pizza sauce (for me that was about ¾ cup, or 200g) and spread out. Place the pan onto the baking stone/steel and bake for about 15 minutes, until the top and underside is beginning to brown.
Top and bake (pan pie): Top with more sauce, cheese (I used about 200g of cheese for this big pie- a mix of fresh-grated part-skim mozzarella, Parm reg, and fresh mozzarella), and any toppings you wish (I topped with spicy Italian sausage crumbles, mushrooms, and red peppers) and bake for an additional 10 minutes. Broil for the last minute or two if things aren’t browning on top.
To shape pies for the stone/steel: When it’s time to shape/top your pies for the stone/steel, switch your oven to the broiler setting to superheet your stone/steel for a few minutes before you launch. To shape, take a ball out of the fridge* and place it on a generously floured pizza peel. Flatten it out with your fingertips, pushing from the center out to the edge in a circular motion to form an indentation around the rim. Lift up the dough by holding the rim with both hands, letting gravity stretch it out as you work your hands all the way around the rim. (Some people call this the “driving the bus” method). If you need to stretch out the middle a bit, drape the center of the dough over your knuckles and gently stretch it by stretching your fists apart. (If this shaping step is hard to picture- watch one of the many pizza shaping videos on youtube!) Lift up the peel and give it a little shimmy to ensure that the pizza isn’t stuck to the peel. If you need to, add some more flour under there. You need to work relatively quickly at this point-- don’t let the shaped dough hang out too long on the peel or else it’ll get too cozy, absorb the flour and stick to the peel. No need to be amped, just don’t wander off for too long.)
*I find it easier to shape and launch cold dough balls. If you follow this timeline, the dough should be fully proved so there is no need to let it come to room temp.
Top and bake (on the stone/steel): Top as desired and launch directly onto the stone/steel. (Give it a little shimmy/shake once again before launching to make sure it won’t bunch up and stick). Bake for about five minutes, then turn on the broiler for the last minute or two. (Stay close when it’s under the broiler). Depending on how evenly your oven heats, you might want to rotate it with your peel once after it’s been baking for a few minutes.
Slice and enjoy!

